Gourmet Layered Chocolate and Nut Dessert Bars
Oh my gosh, I have to tell you about the baking day I had recently with my old best friend, Beth! She lives far away now, and we rarely get to see each other, but we managed to sync up a weekend when we were both visiting our hometown. When we were younger, we always had these marathon “baking days” before Christmas, and we just had to recreate a mini version—even though it was nowhere near December!
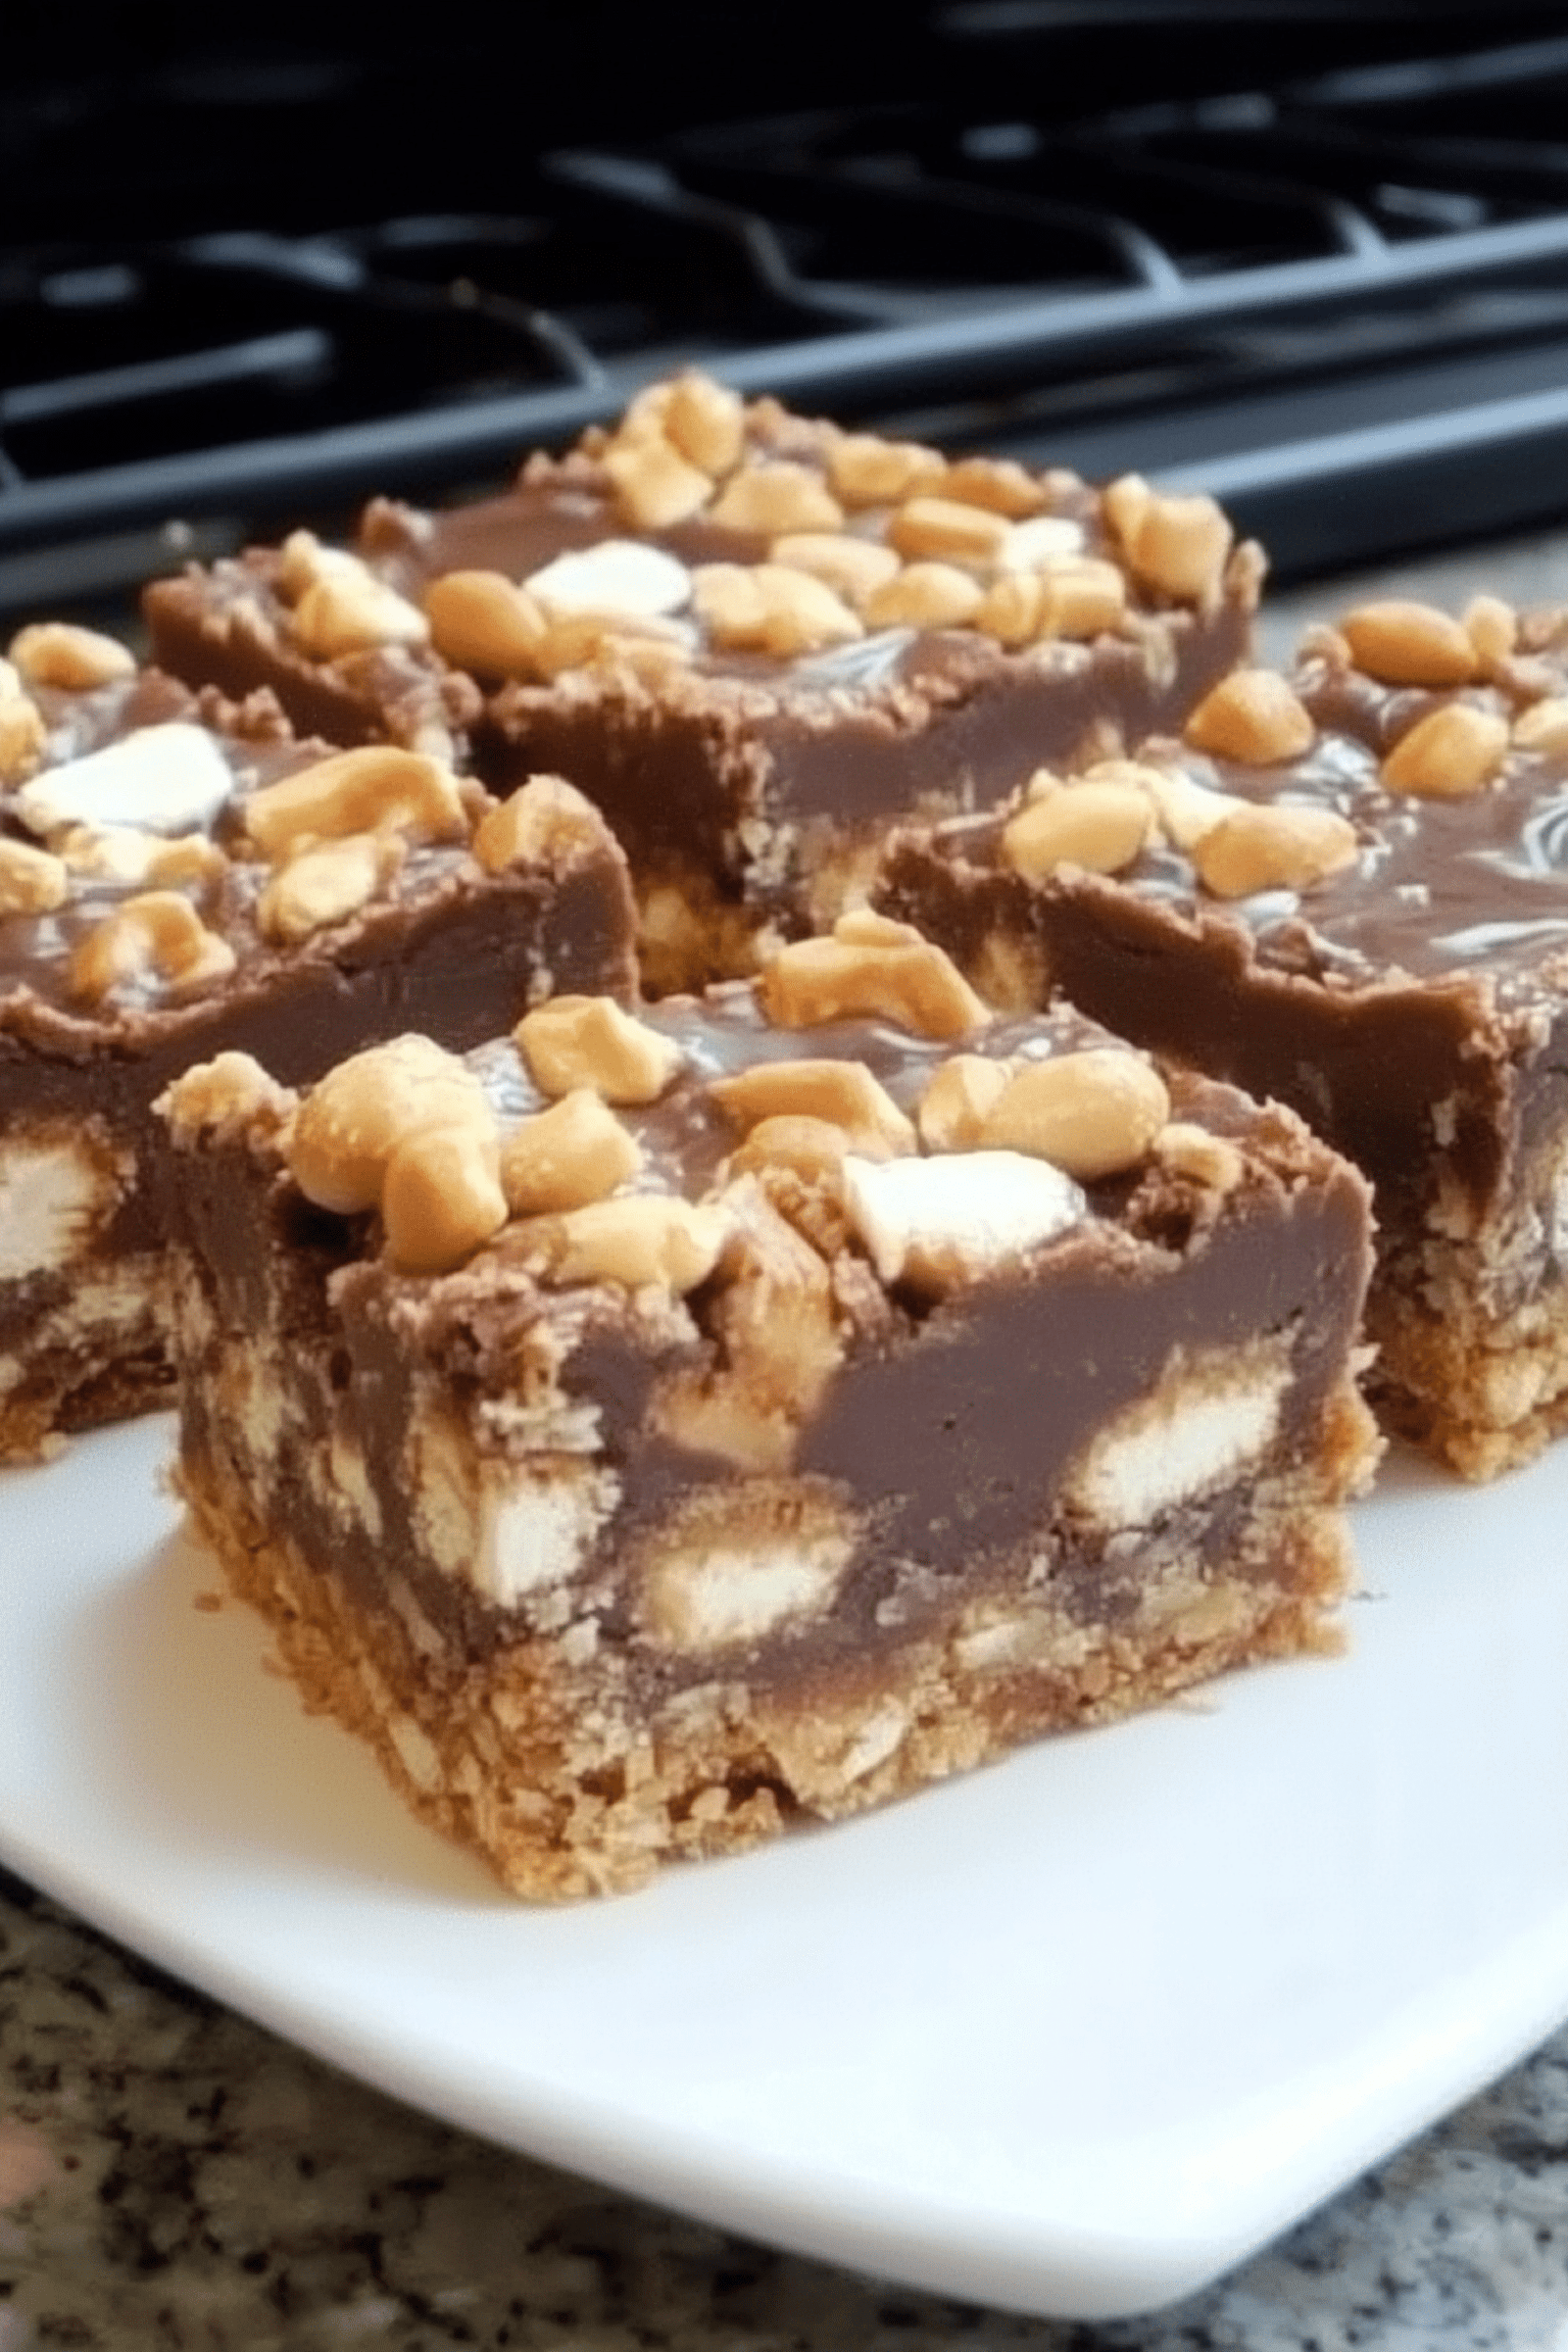
As we were flipping through cookbooks, this recipe for Gourmet Layered Chocolate and Nut Dessert Bars jumped right out at me. I mean, they’re basically a s’more, but in a sophisticated bar form that you don’t have to build over a smoky campfire! It truly hits all the nostalgia buttons with that graham cracker crust and the gooey, sugary interior. We immediately ran to the store (because, naturally, we had none of the right ingredients on hand) and got started.
Honestly, the only tough part about these bars is the waiting. They are so quick and easy to whip up—it’s just a simple baked crust and a stovetop chocolate ganache layer—but then you have to let them chill for at least three hours before you can cut them! Believe me, the rich, slightly salty, incredibly chewy, chocolatey payoff is totally worth the agonizing wait. These are a huge hit for summer picnics or parties, and they disappear faster than I can refill the snack cabinet.
Why You’ll Love This Recipe
- Pure Nostalgia: Captures all the gooey, smoky flavor of a s’more without the campfire.
- Make-Ahead Perfection: Needs mandatory chilling, making it ideal for party prep.
- Rich, Complex Flavor: The combination of dark and milk chocolate prevents it from being overly sweet.
- Easy, Two-Part Assembly: Only involves baking the crust, then preparing a quick, stovetop filling.
- Impressive Presentation: Cuts into beautiful, neat squares perfect for entertaining.
Ingredients You’ll Need
- Pulverized honey wafers that form the sturdy, slightly crunchy foundation.
- The caramelized sweetener that adds depth and helps bind the crust layer.
- Clarified dairy fat that coats the dry ingredients and allows the crust to press firmly.
- A blend of two different cocoa confections that provide the essential melted richness.
- The high-fat dairy liquid that is heated to melt the chocolate into a glossy, smooth ganache.
- A touch of clear liquid sugar to help give the filling its perfect, glossy sheen and chew.
- Generously sized, fluffy sugar confections that provide pockets of gooey sweetness in the filling.
- Mildly seasoned, crushed earth nuts added to the filling and sprinkled on top for a necessary salty crunch.
How It’s Made
These bars are built in two distinct parts. First, the crumbly mixture is pressed into the bottom of a pan and lightly baked just until it’s set, creating a firm base. While the crust cools, a thick, glossy chocolate mixture is created on the stovetop by melting quality chocolate with hot dairy liquid and sugar. This rich filling is then mixed with the chewy sugar pieces and nuts, poured over the base, and allowed to set completely in the refrigerator until firm enough to slice.
Tips, Variations & Storage
- Tip: Line your baking dish with parchment paper with an overhang on two sides. This makes lifting the whole cooled slab out for perfect cutting so much easier!
- Substitution: Swap the earth nuts (peanuts) for pecans or walnuts, or omit them entirely for a nut-free version.
- Add-ins: Stir in a teaspoon of vanilla extract or a pinch of sea salt into the filling before chilling for extra flavor depth.
- Dietary Swap: If you must use butter with salt, reduce the amount of added crystalline seasoning elsewhere in the recipe.
- Storage: Store the finished squares in an airtight container at room temperature for up to 3 days, or refrigerate for longer freshness.
- Freezer Notes: These bars freeze beautifully! Wrap individual slices tightly in plastic wrap, place them in a freezer bag, and freeze for up to 3 months. Thaw at room temperature.
FAQ Section
1. Why do I need two kinds of chocolate? Using a mix of dark and creamy chocolate prevents the bar from being overwhelmingly sweet while adding a complexity of flavor that makes the bars feel gourmet.
2. Can I skip the corn syrup? The pale liquid sugar is necessary because it prevents the chocolate mixture from crystallizing as it cools, ensuring your filling stays glossy, smooth, and chewy.
3. What is the trick to cutting clean squares? Make sure the bars are thoroughly chilled—at least three hours is required. Use a large, sharp knife, running it under hot water and wiping it dry between each slice.
4. I don’t have time for the 3-hour chill. Can I freeze them? You can flash-freeze the bars for about an hour to speed up the setting process slightly, but I don’t recommend rushing the full chill time, as the ganache needs time to fully firm up.
5. How far in advance can I make these? You can easily make these bars up to 3 days in advance. Just keep them covered and chilled until about an hour before you plan to serve them.
Recipes
Crust Foundation
- 2 ¼ C.: Pulverized honey-flavored biscuit wafers graham cracker crumbs
- 1 Tbsp.: Densely packed molasses-rich sweetener dark brown sugar
- ⅔ C.: Clarified unsalted dairy fat (unsalted butter), melted
Rich Filling
- 7 ½ oz.: Chopped creamy milk confectionery (milk chocolate), roughly fragmented
- 7 ½ oz.: Dark cocoa squares 60%–72% intensity, roughly fragmented
- 1 ½ tsp.: Pale liquid sugar light corn syrup
- 1 C.: High-fat dairy liquid heavy cream
- 10 Large: Generously sized pillowy sugar confections (marshmallows), segmented into four pieces each
- ½ C.: Fully intact mildly seasoned earth nuts (whole, lightly salted peanuts)
- ½ C.: Fragmented mildly seasoned earth nuts (chopped, lightly salted peanuts)
Instructions
- Activate the oven to 300°F. Thoroughly grease the interior surfaces of a 9×13 inch rectangular baking vessel.
- In a large bowl, integrate the pulverized honey biscuits and the molasses sweetener. Introduce the melted dairy fat. Use your hands to thoroughly combine, then transfer the mixture to the prepared baking vessel. Press the crust firmly and evenly across the base and slightly up the edges. Use the flat base of a measuring tool to ensure uniformity.
- Bake the pressed foundation for 10 to 15 minutes, until it achieves a light golden color. Extract the vessel from the oven and place it onto a cooling structure.
- Combine the chopped chocolate confections in a large, heat-safe bowl. Dribble the pale liquid sugar over the chocolate and reserve. In a medium pan, heat the high-fat dairy liquid until it just reaches a rolling boil. Remove from heat immediately and pour the hot liquid over the chocolate mixture. Allow it to rest undisturbed for two to three minutes.
- Starting from the center and expanding outward, swiftly blend the chocolate mixture using a circular motion until it achieves a perfect smoothness. Gently fold in the segmented sugar confections and the fully intact earth nuts. Pour this filling into the crust-lined pan and use a thin spatula to ensure an even distribution. Garnish the surface with the fragmented earth nuts.
- Transfer the dessert to the refrigerator for a minimum of three hours, or until the topping is firm and completely set. Slice the finished creation into 24 uniform squares before presentation.